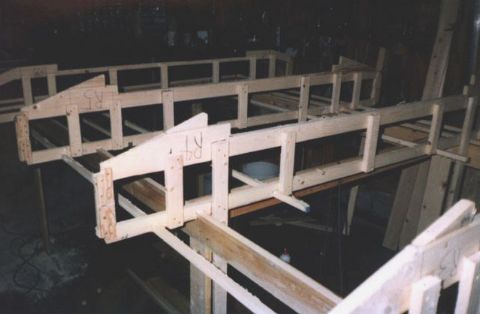
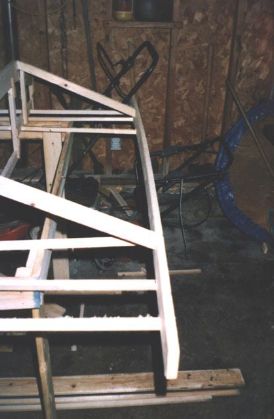
This is a picture of the rear of the craft just as things started going together, notice the stand built for this process, levelled but I learned later, should have been stronger. |
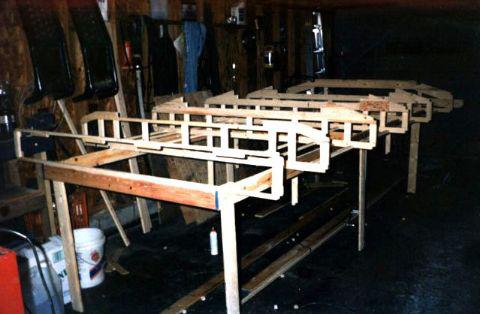 |
This is a picture of the rear of the craft just as things started going together, notice the stand built for this process, levelled but I learned later, should have been stronger. |
|
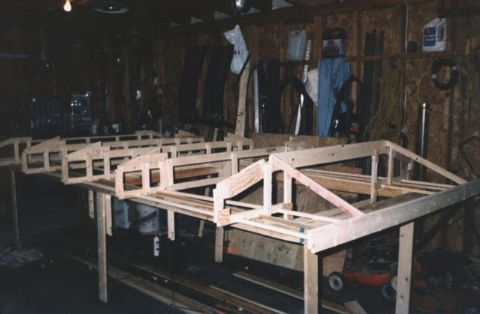 |
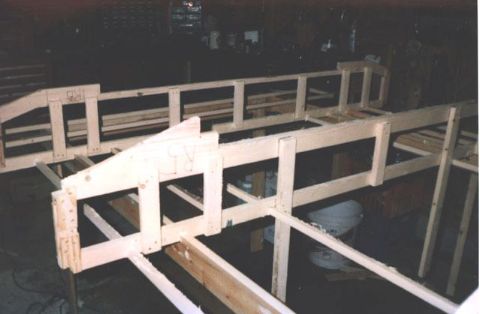
View from the front notice the reinforcements on the ribs. |
A good look at R-1 and R-2 |
 |
 |
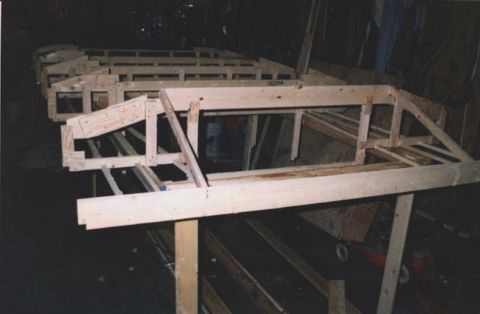
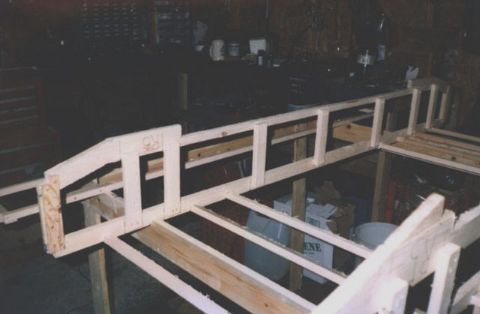
This would be R-3 |
This is R-4, notice the short extensions of the 3/4 by 3/4 pieces, That is where the seat goes later. |
 |
 |
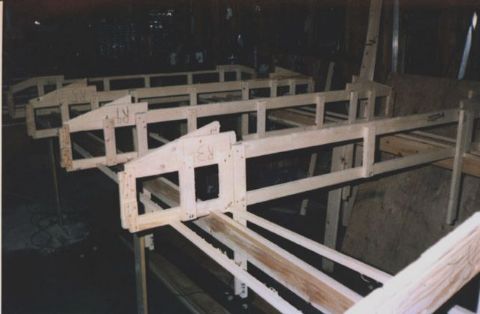
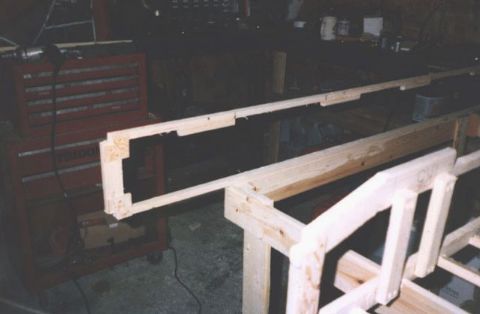
Here we have R-5 |
This is R-6, notice none of the center stringers carry on to R-7, only the corner ones do. |
 |
 |
That is R-7, patiently awaiting me to get around to installing it. |
This would again be R-7, notice the reinforcements for the rudder mounts and prop guard. |
 |
 |
In this photo you can see the slight bow to R-1. I put a 2x4 in
between the stand and the center
|